Step-by-Step Tutorials of Paper Craft
Paper craft is a timeless and enjoyable hobby that allows individuals of all ages to unleash their creativity and produce stunning artworks. This comprehensive guide provides detailed step-by-step tutorials of paper craft, ensuring you master this craft with ease. Whether you are a beginner or an experienced crafter, our tutorials will inspire and guide you through various paper craft projects.
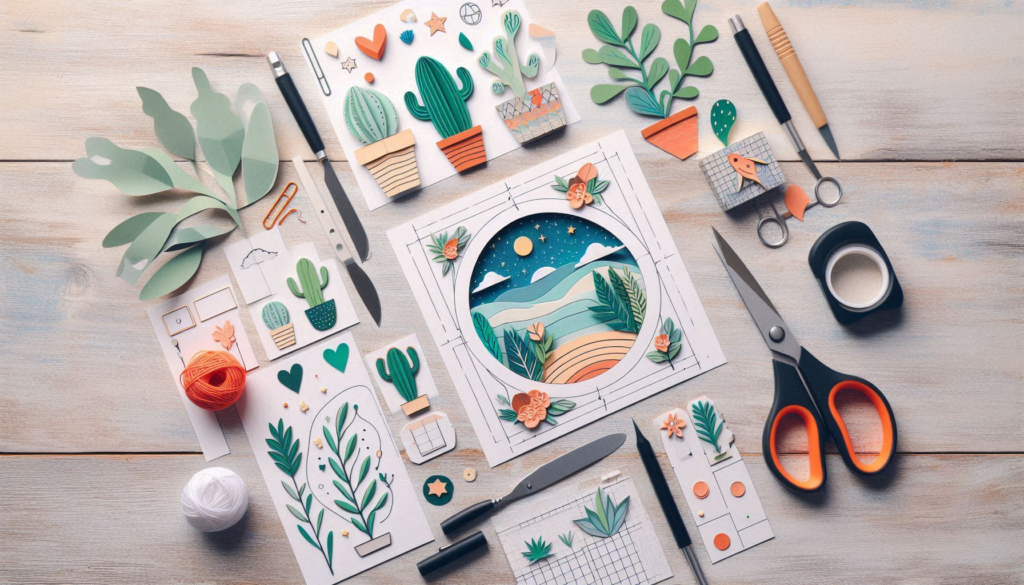
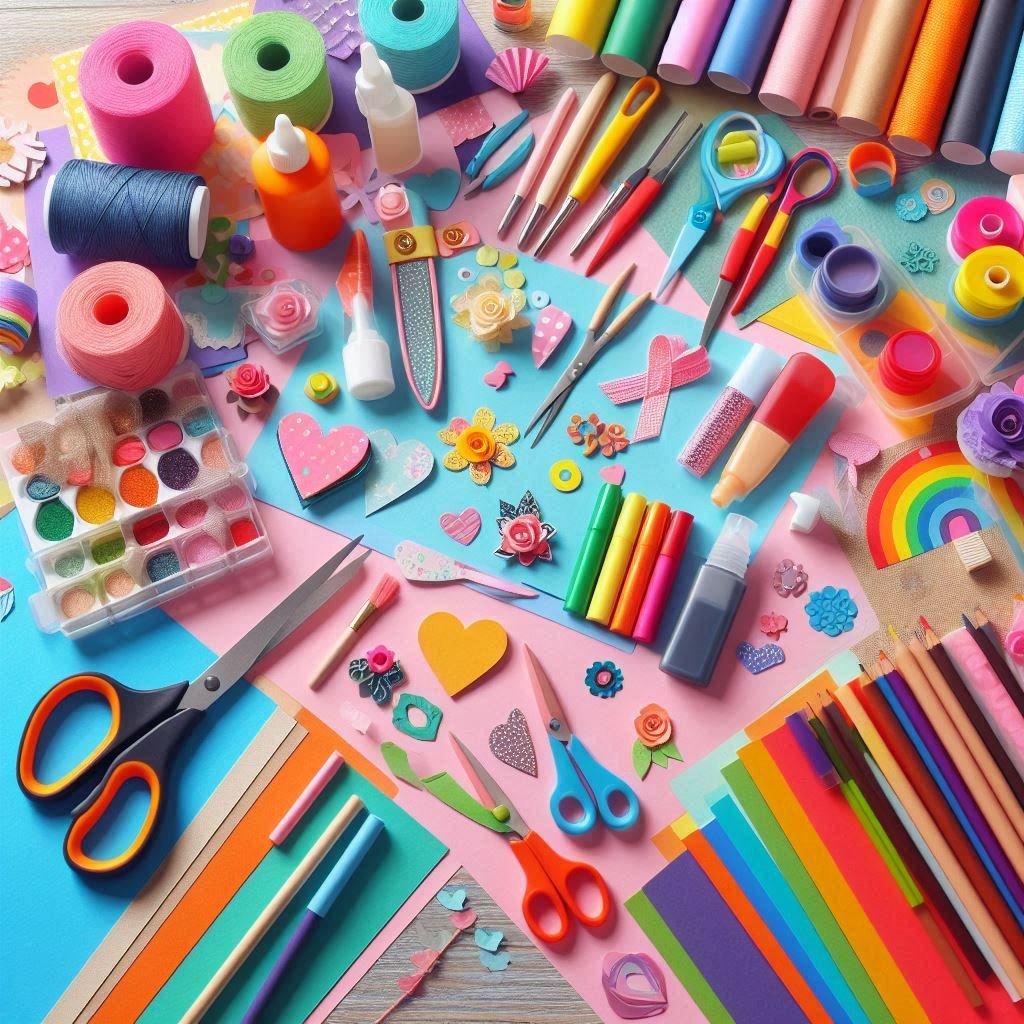
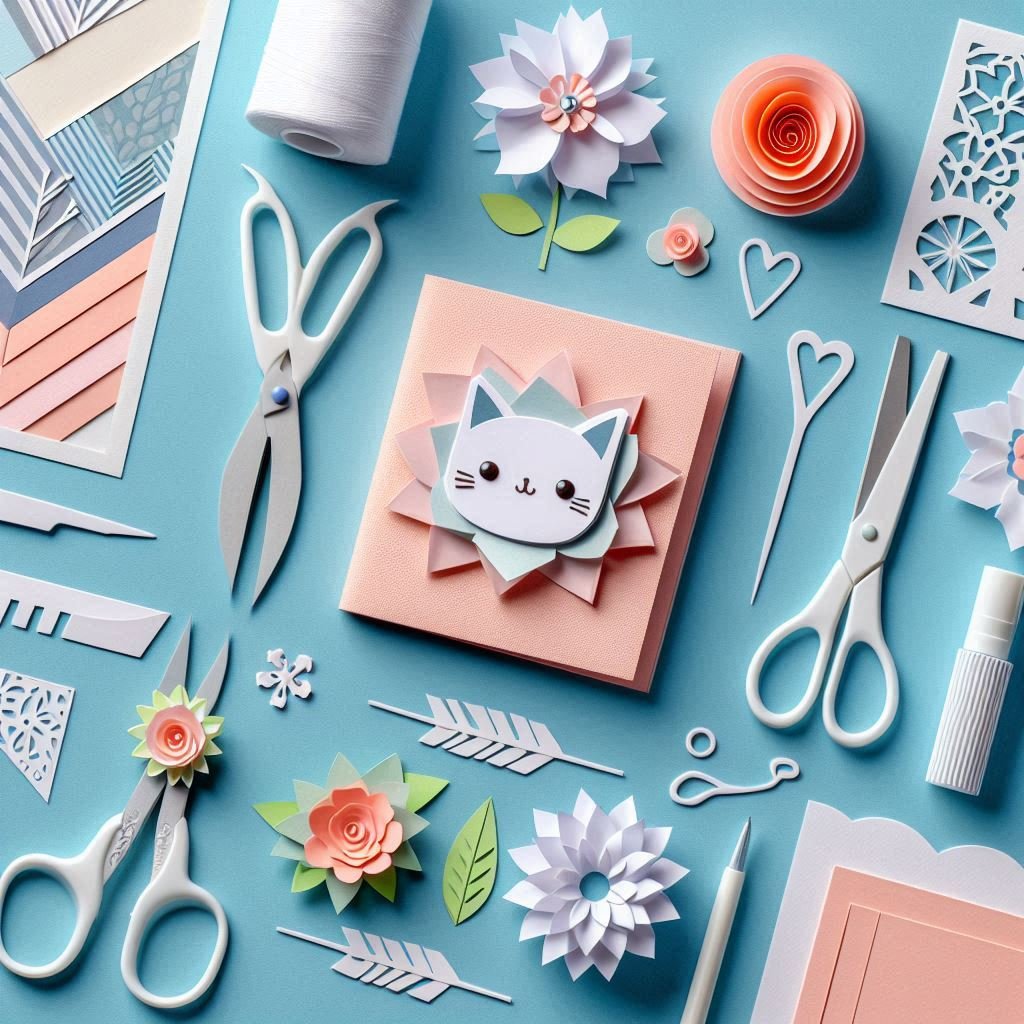
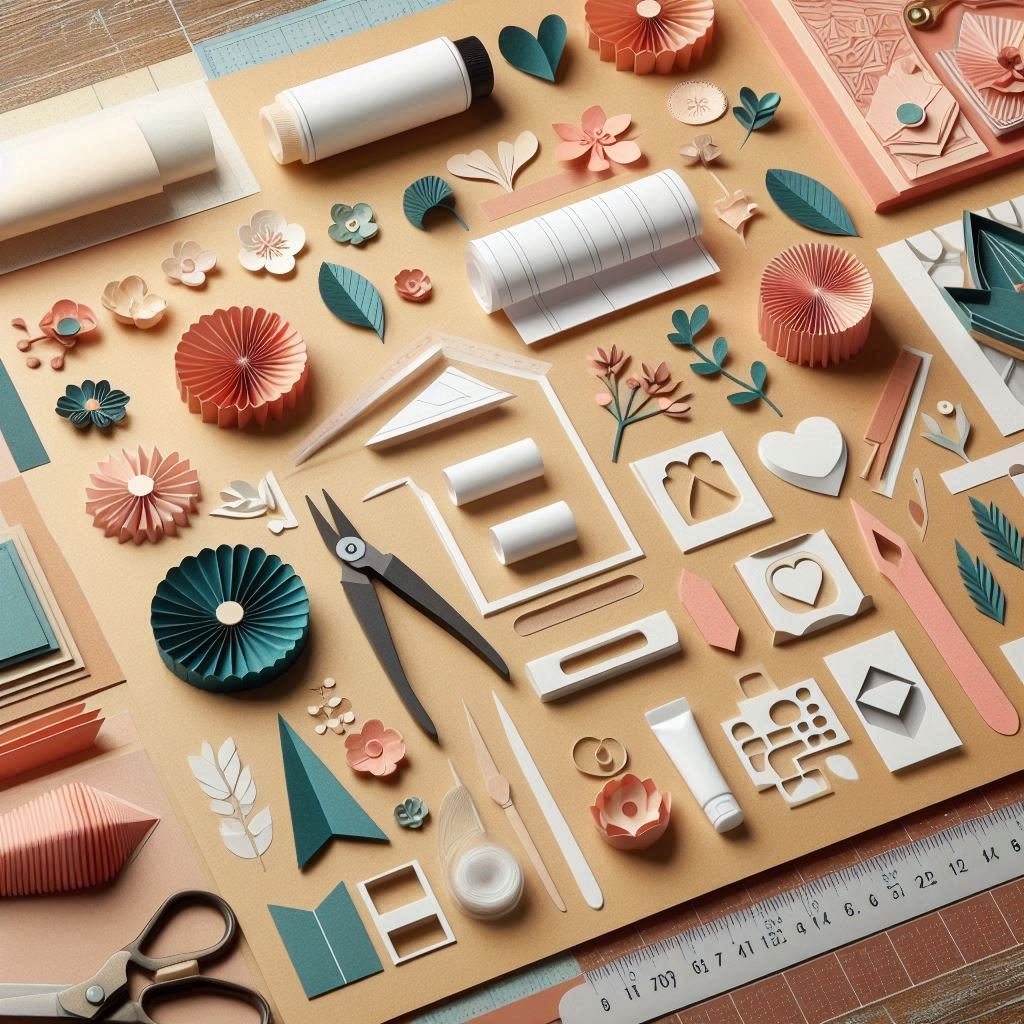
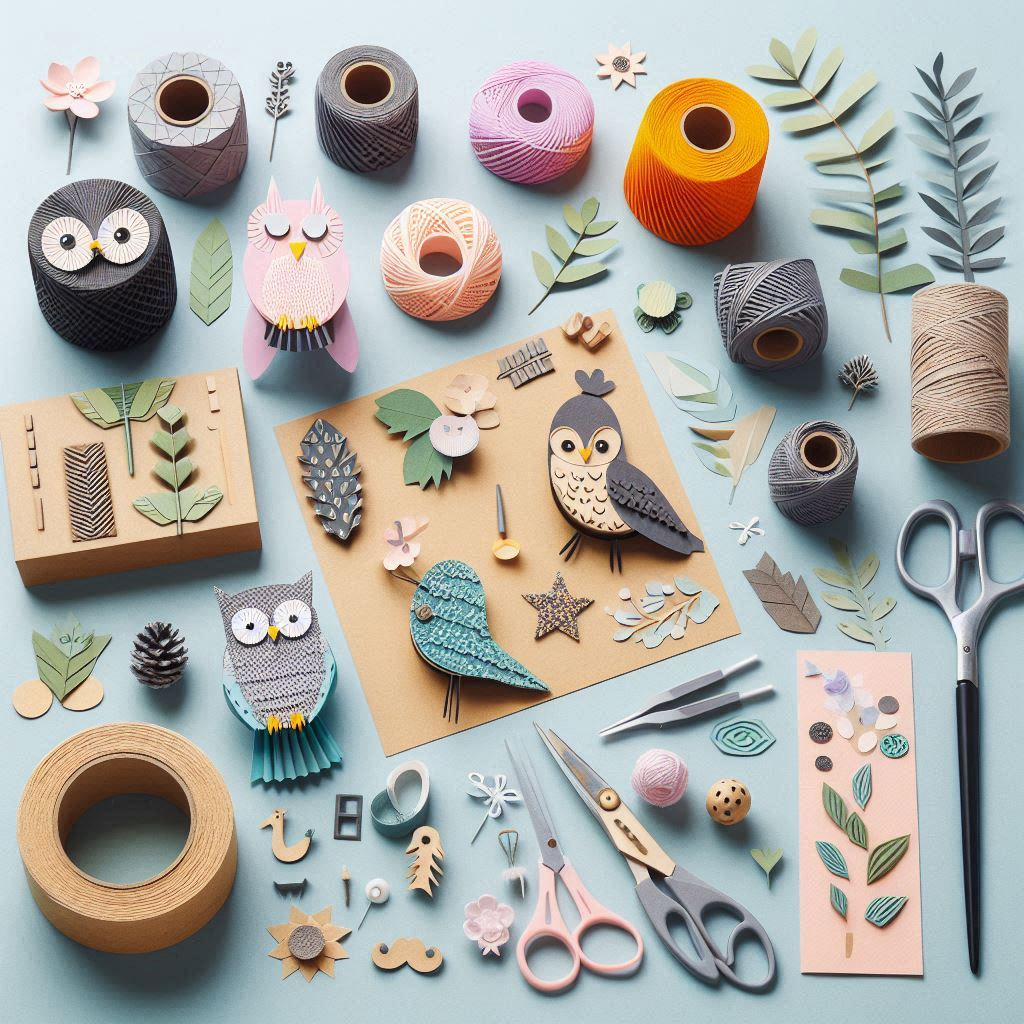
Materials Needed for Paper Craft
Before diving into the projects, let’s gather the essential materials:
- Paper: Various types like construction paper, origami paper, and cardstock.
- Scissors: For cutting shapes and patterns.
- Glue: A strong adhesive for assembling pieces.
- Ruler: For accurate measurements.
- Pencil and Eraser: For sketching designs.
- Craft Knife: For intricate cuts.
- Cutting Mat: To protect your work surface.
- Decorative Elements: Stickers, glitter, markers, etc.


Basic Techniques for Paper Craft
Folding Techniques
Folding is the foundation of many paper crafts, especially origami. Mastering the basic folds is crucial for creating more complex designs.
- Valley Fold: Fold the paper in half, creating a valley shape.
- Mountain Fold: Fold the paper in half, creating a mountain shape.
- Reverse Fold: Fold the paper back on itself along a crease line.
Cutting Techniques
Precision in cutting is essential to achieve clean and professional-looking projects.
- Straight Cut: Use a ruler and craft knife for straight, clean cuts.
- Curved Cut: Follow the pencil lines carefully with scissors for smooth curves.
- Intricate Cut: Use a craft knife for detailed and delicate cuts.
Gluing Techniques
Proper gluing ensures your project stays together securely.
- Dot Gluing: Apply small dots of glue to avoid excess and mess.
- Line Gluing: Draw a thin line of glue for longer areas.
- Spread Gluing: Use a brush to spread glue evenly for larger surfaces.

Step-by-Step Tutorials of Paper Craft Projects
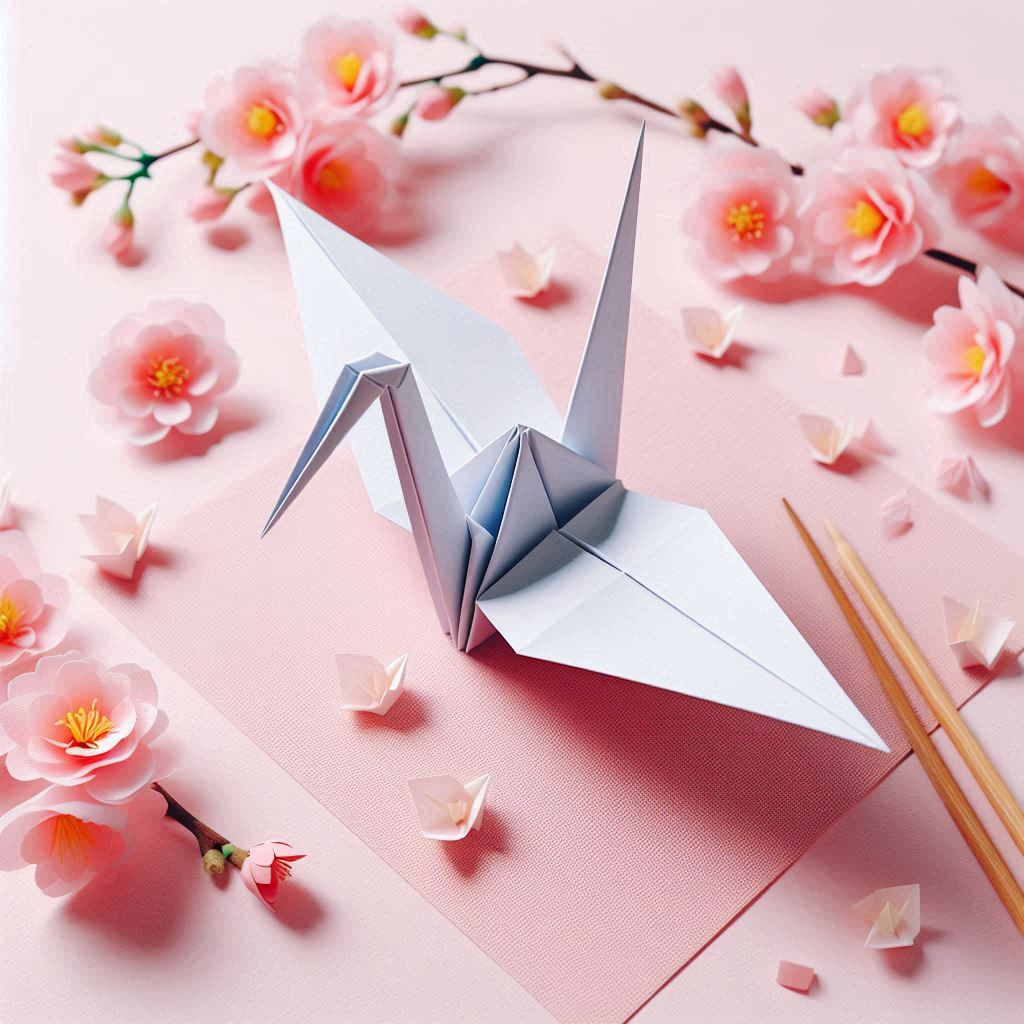
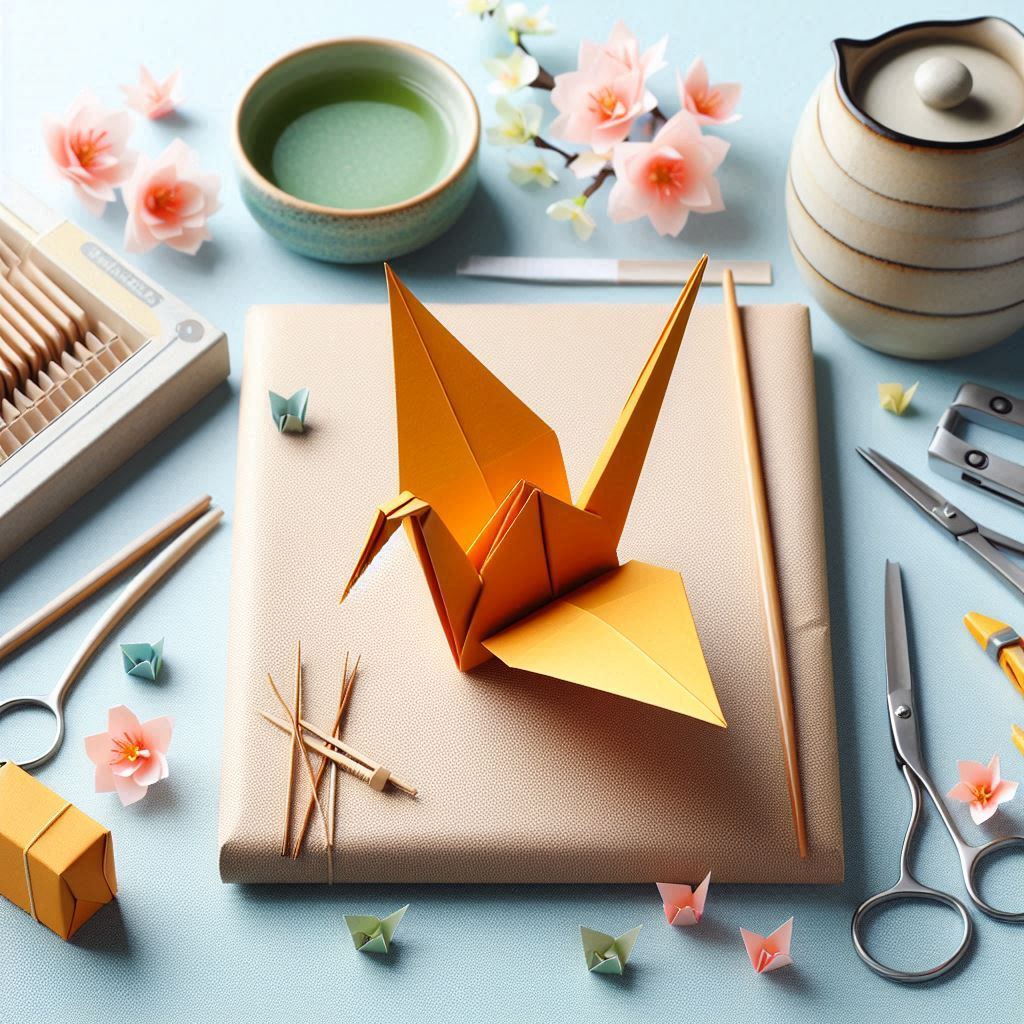
Origami Crane
The origami crane is a classic paper craft project that symbolises peace and hope.
- Materials Needed: Square piece of origami paper.
- Step 1: Start with a square paper, fold it diagonally to form a triangle.
- Step 2: Fold the triangle in half to create a smaller triangle.
- Step 3: Open up the paper, then fold each corner into the centre.
- Step 4: Flip the paper over and repeat the corner folds.
- Step 5: Fold the top and bottom edges to the centre.
- Step 6: Pull out the inner flaps to form the wings.
- Step 7: Adjust the wings and tail for the final shape.
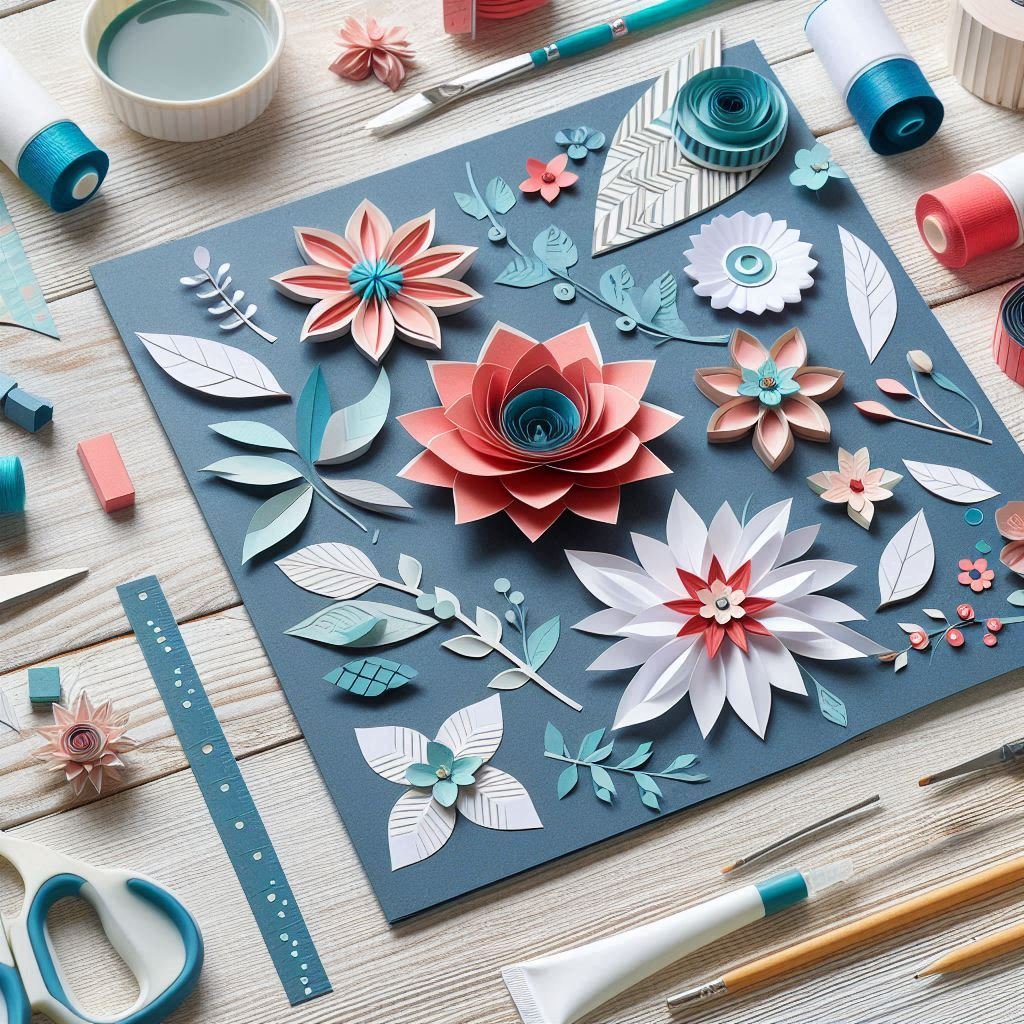
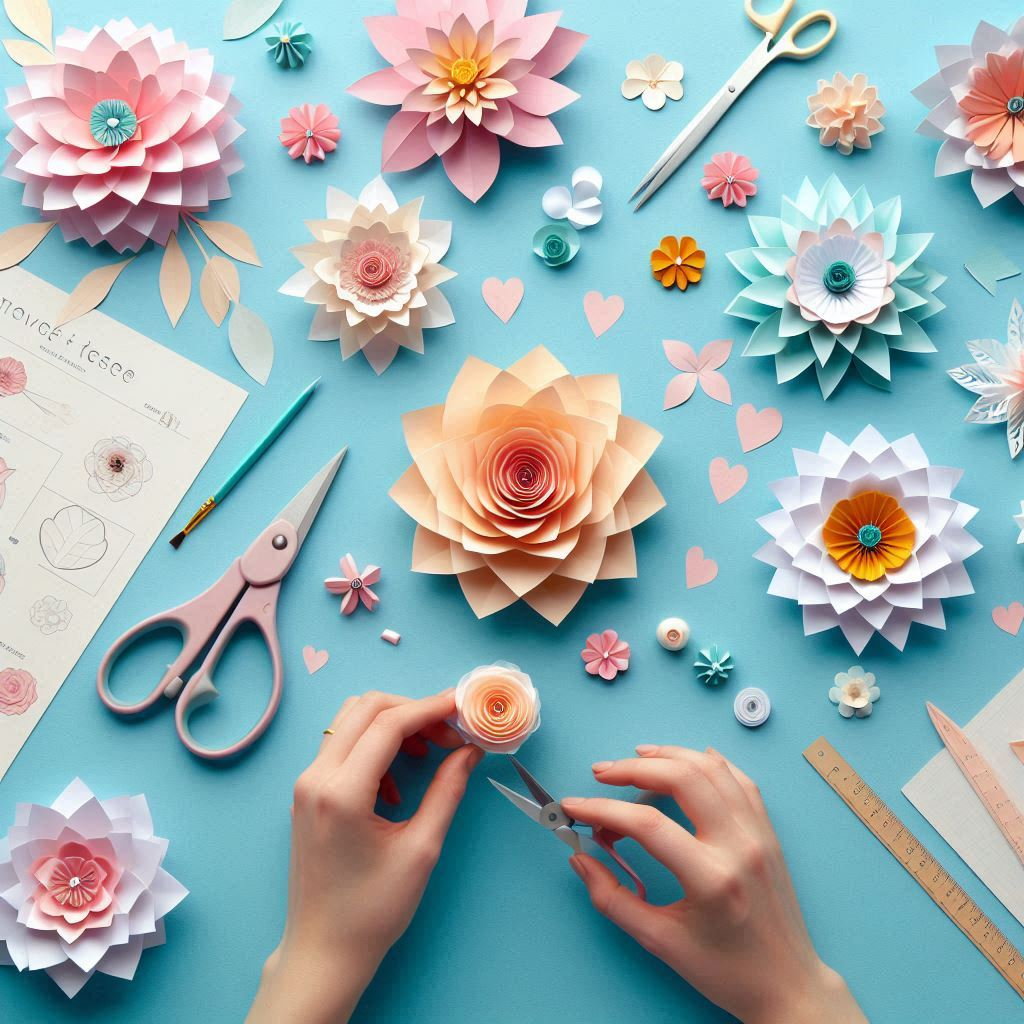
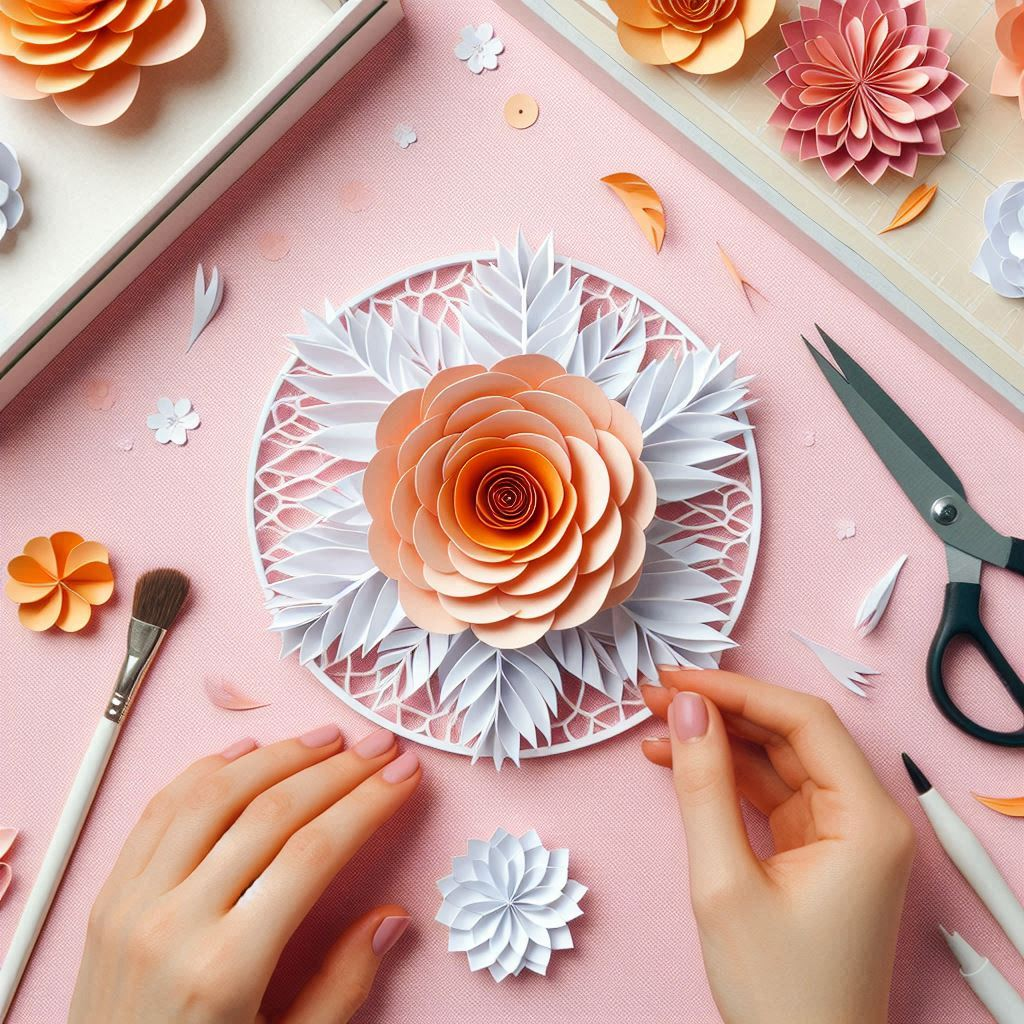
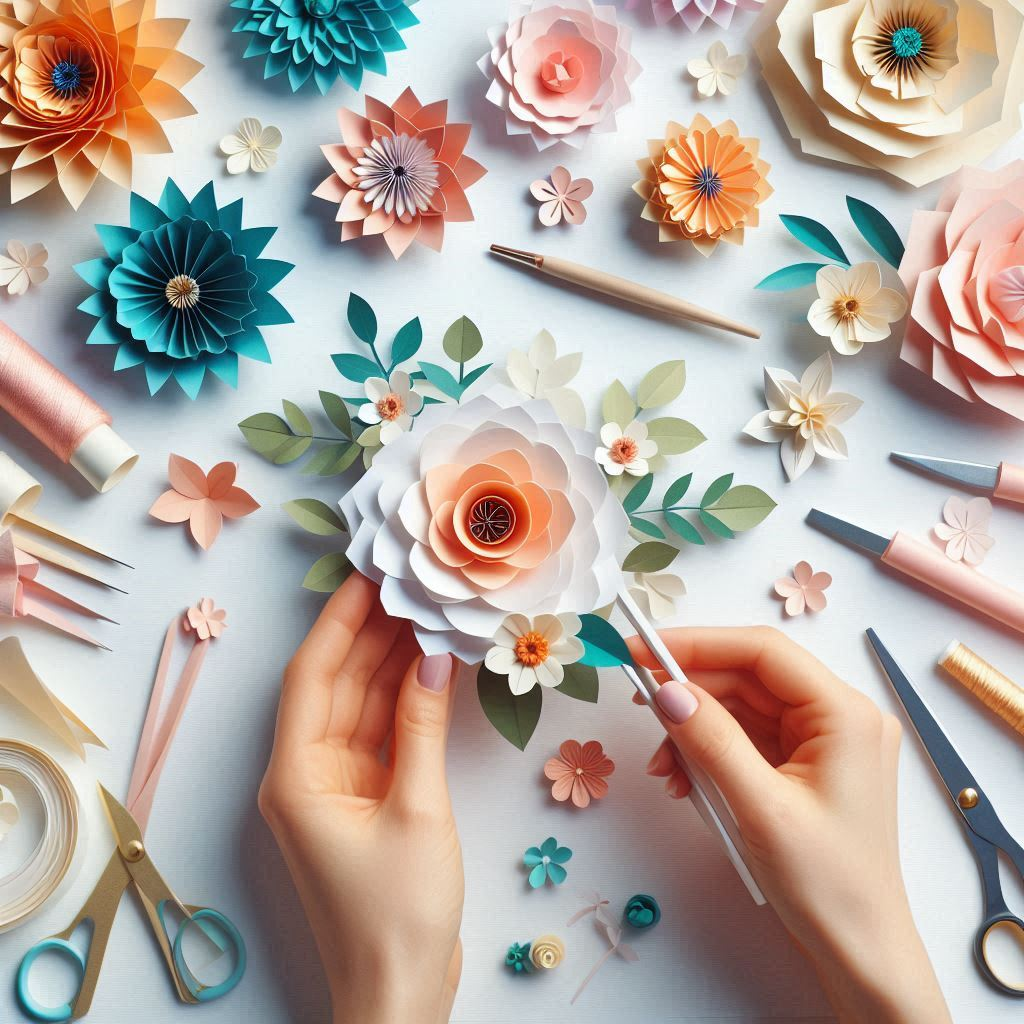
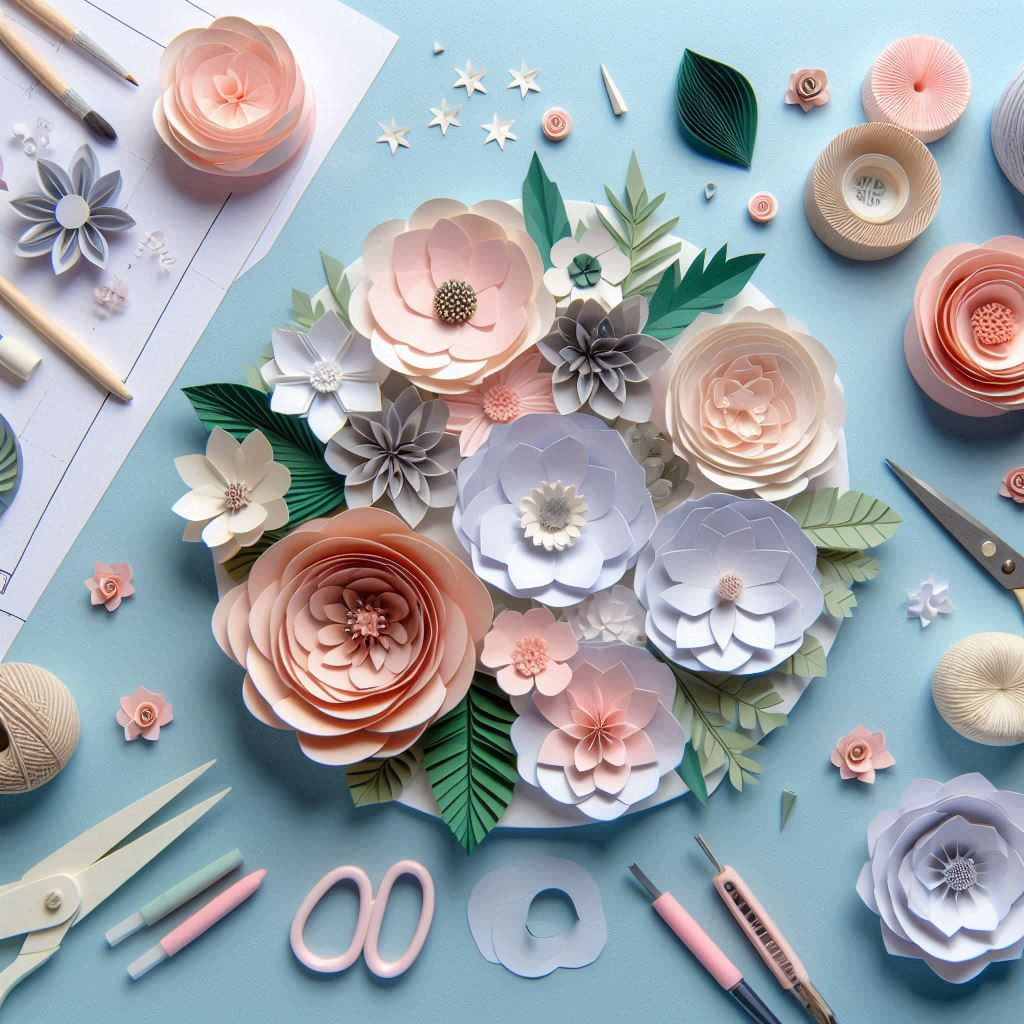
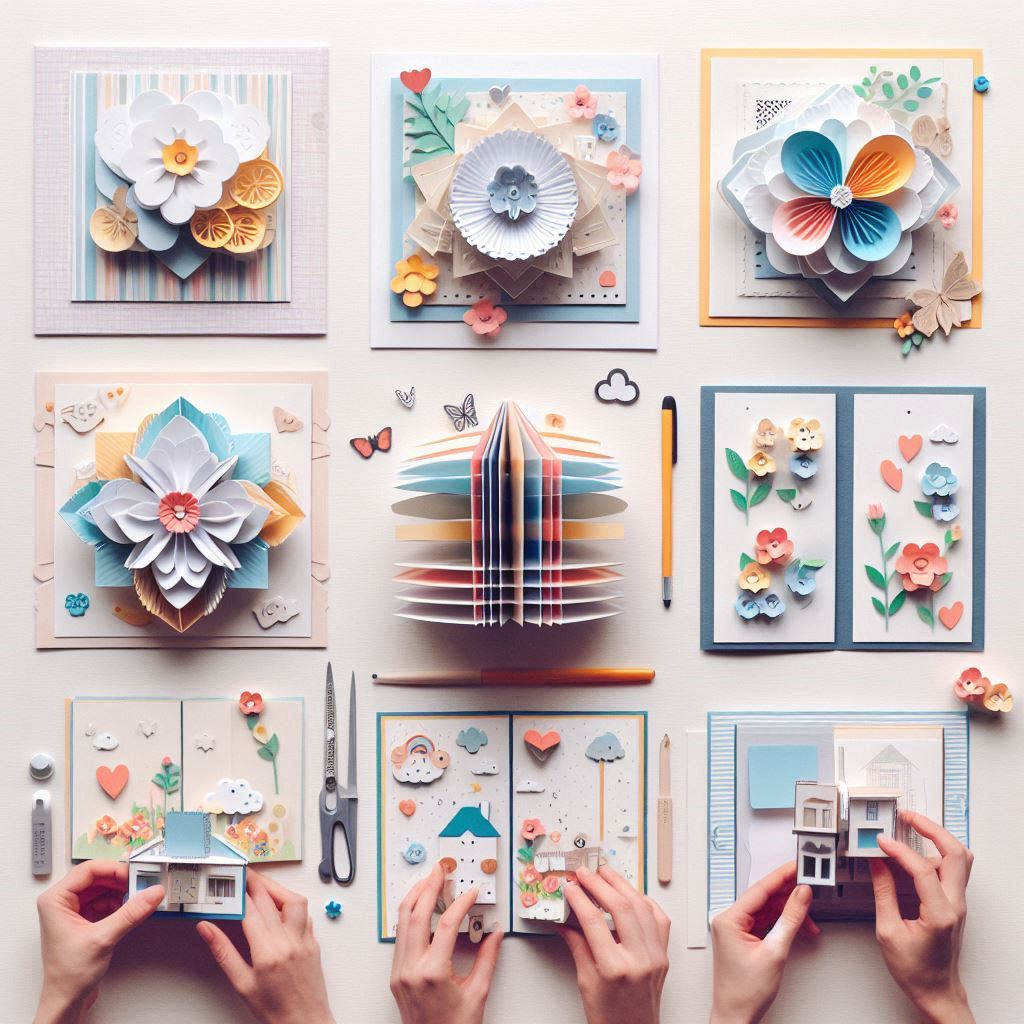
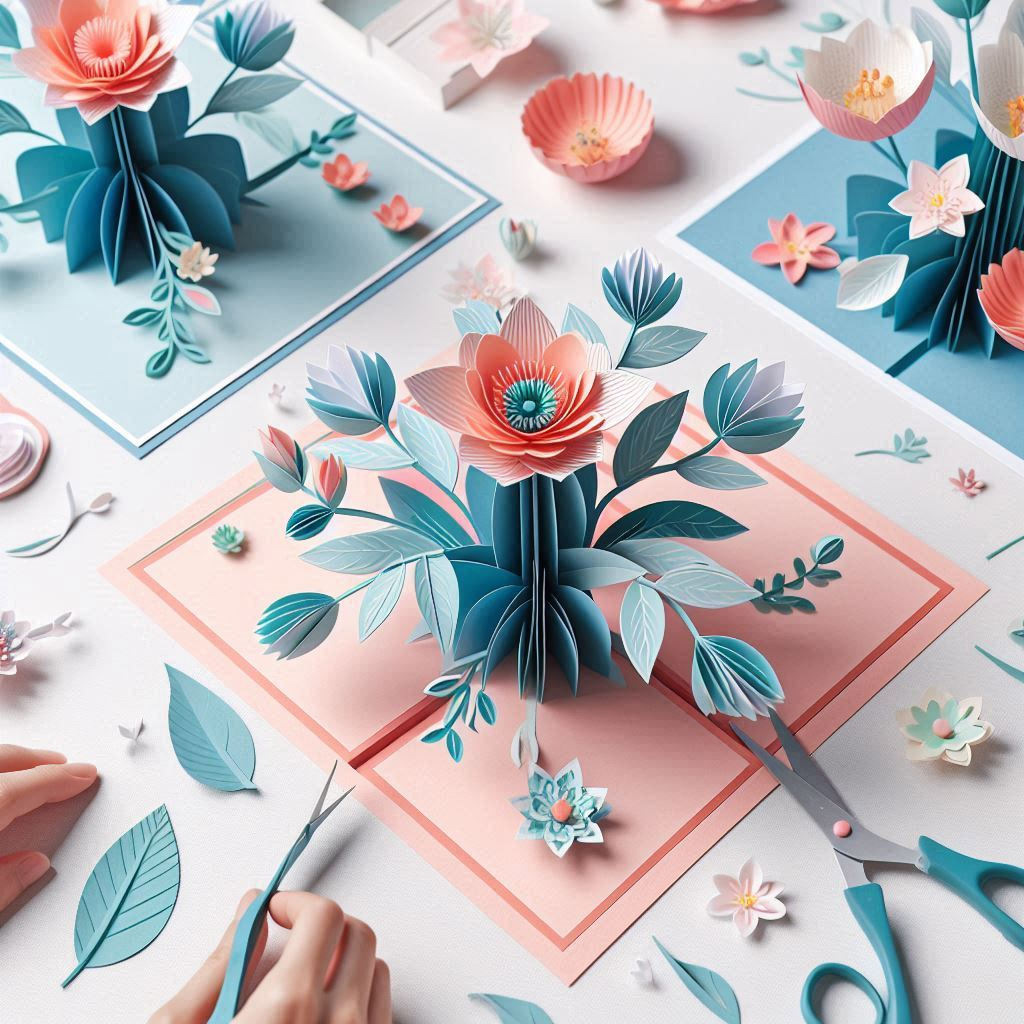
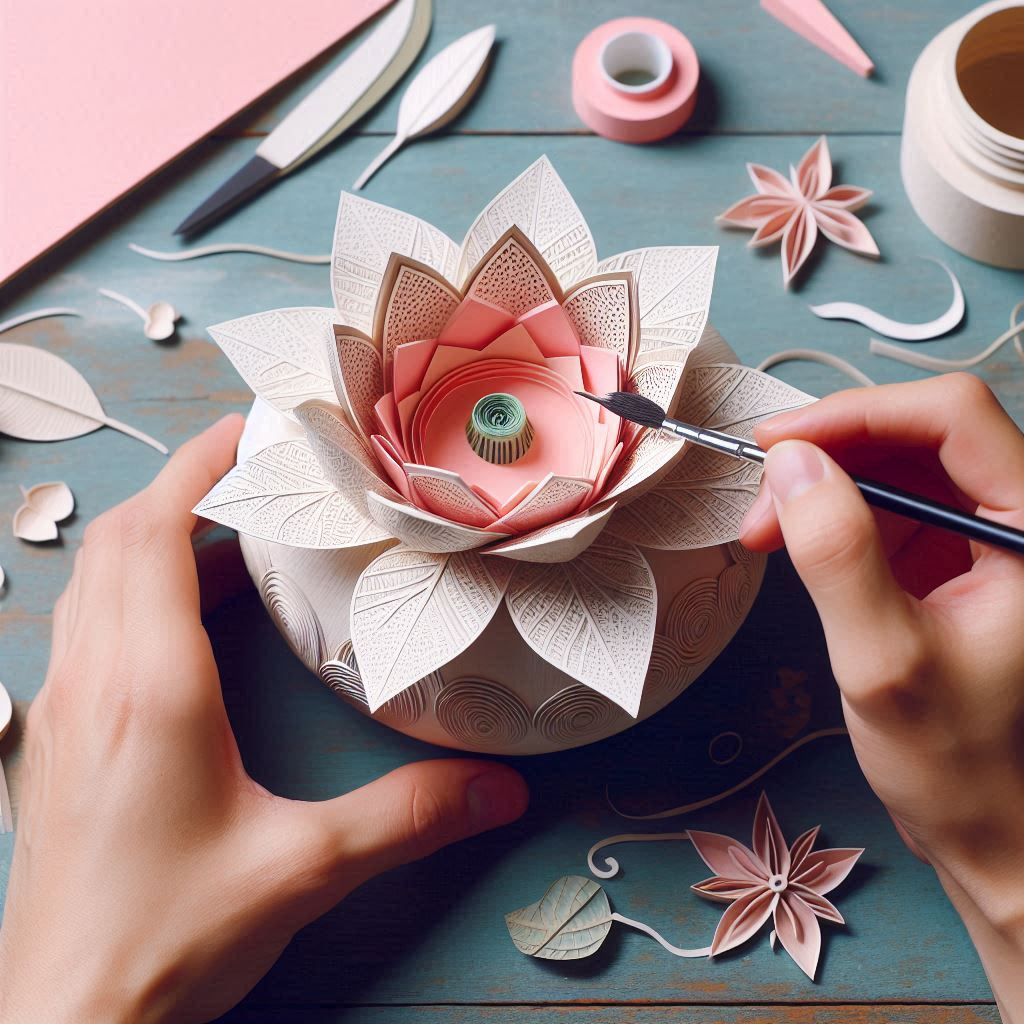
Paper Flowers
Create beautiful paper flowers to decorate your home or gifts.
- Materials Needed: Coloured paper, scissors, glue, floral wire.
- Step 1: Cut out petal shapes from the coloured paper.
- Step 2: Shape the petals by curling the edges with a pencil.
- Step 3: Assemble the petals in layers, gluing them together.
- Step 4: Attach the petals to a floral wire stem.
- Step 5: Add leaves and other decorative elements as desired.
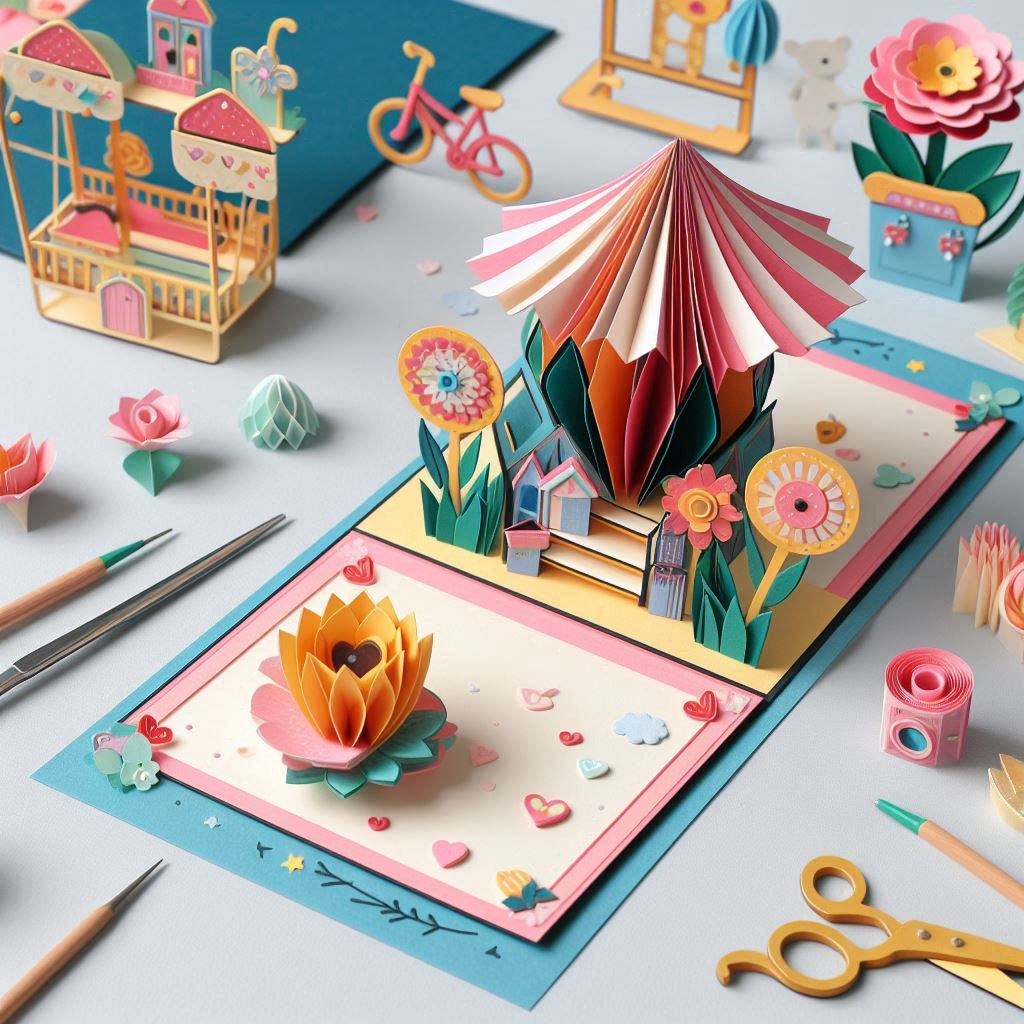
Pop-Up Cards
Pop-up cards add a surprise element to your greetings.
- Materials Needed: Cardstock, scissors, glue, markers.
- Step 1: Fold a piece of cardstock in half to form the card base.
- Step 2: Cut out the pop-up elements from another piece of paper.
- Step 3: Create folds on the pop-up elements to allow them to stand up.
- Step 4: Attach the pop-up elements inside the card.
- Step 5: Decorate the card with markers and stickers.

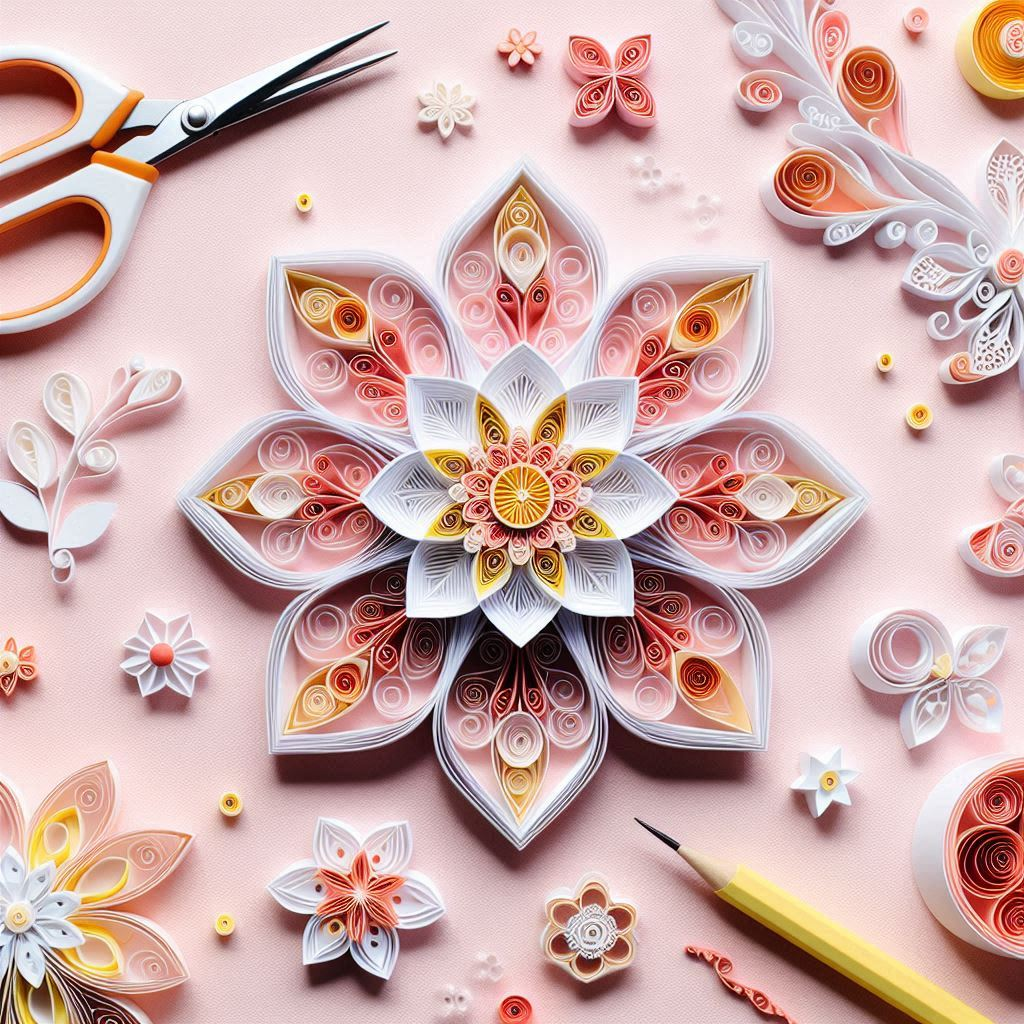
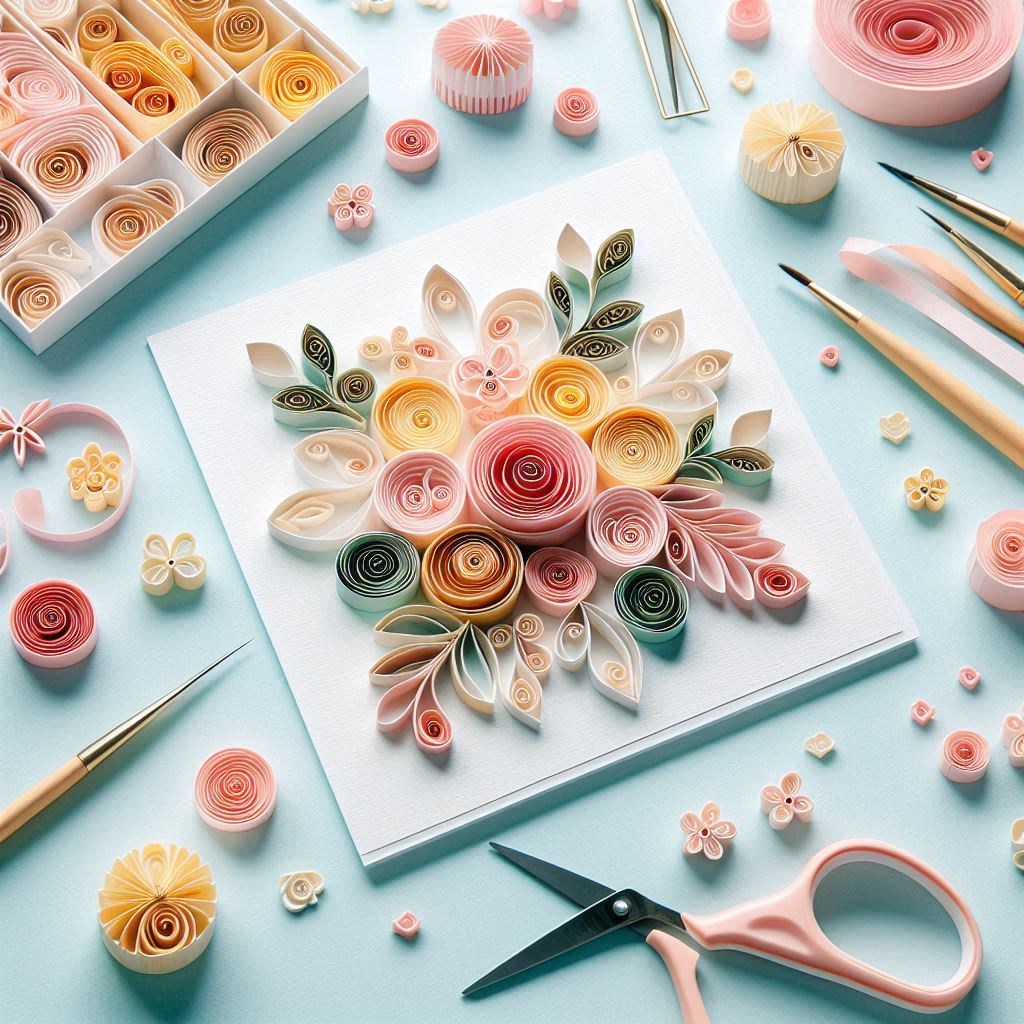
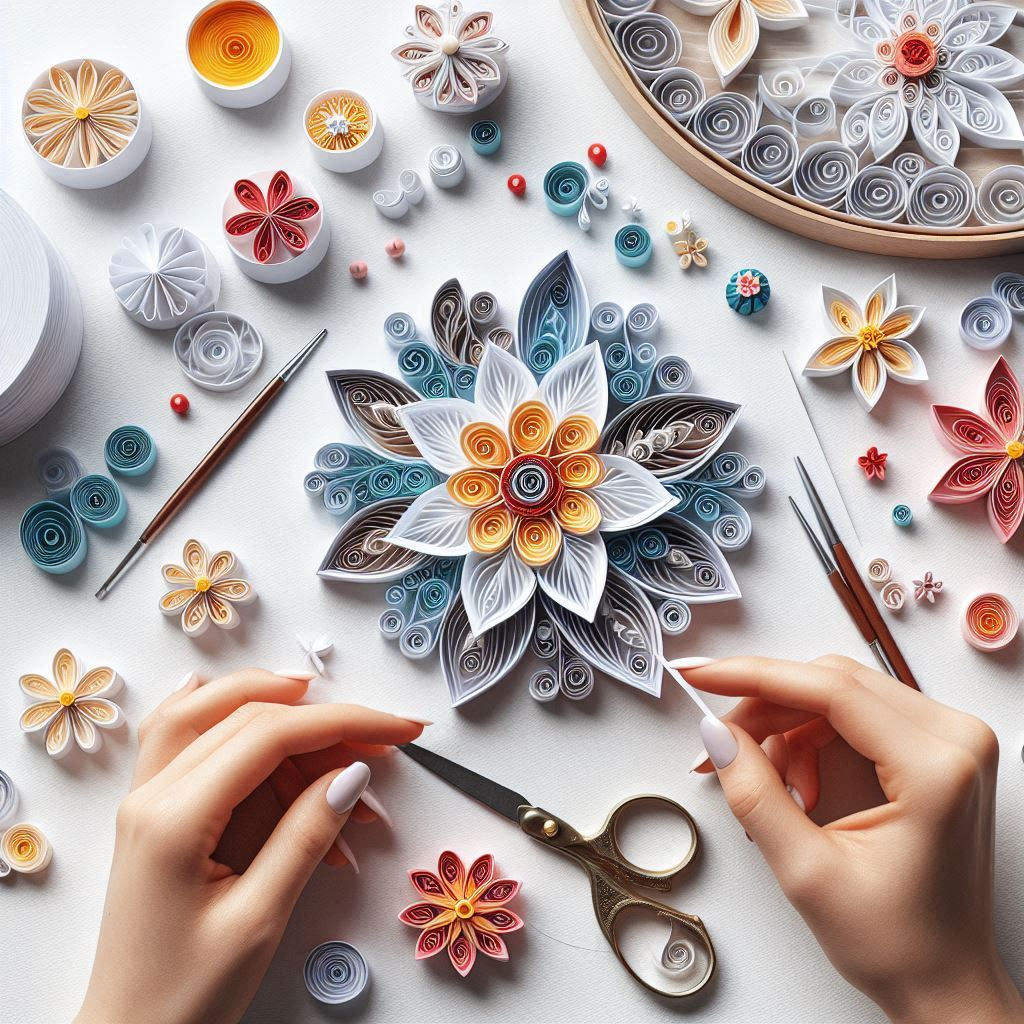
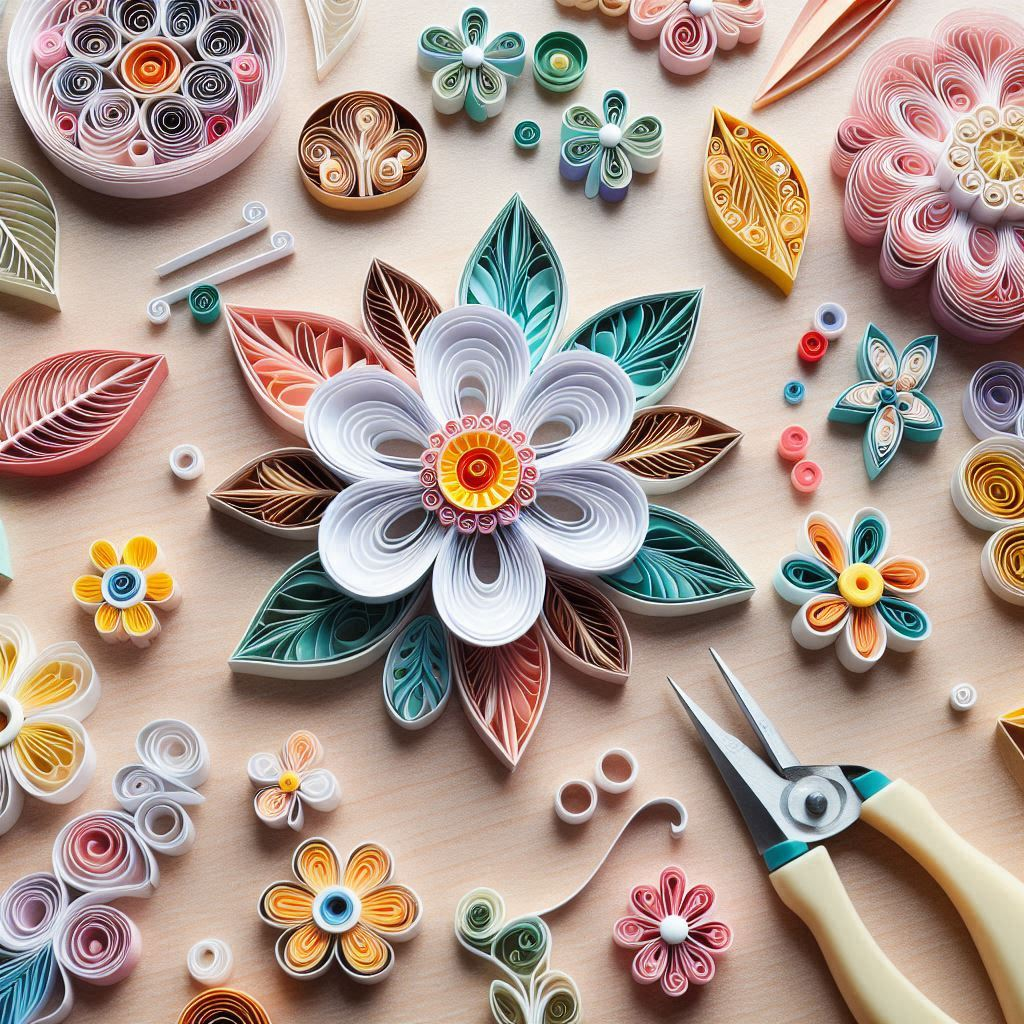
Paper Quilling
Paper quilling involves rolling and shaping thin strips of paper into intricate designs.
- Materials Needed: Quilling paper strips, quilling tool, glue.
- Step 1: Roll a strip of quilling paper using the quilling tool.
- Step 2: Shape the rolled paper into desired forms (circles, teardrops, etc.).
- Step 3: Glue the shapes together to create a larger design.
- Step 4: Attach the finished quilled design to a card or frame.
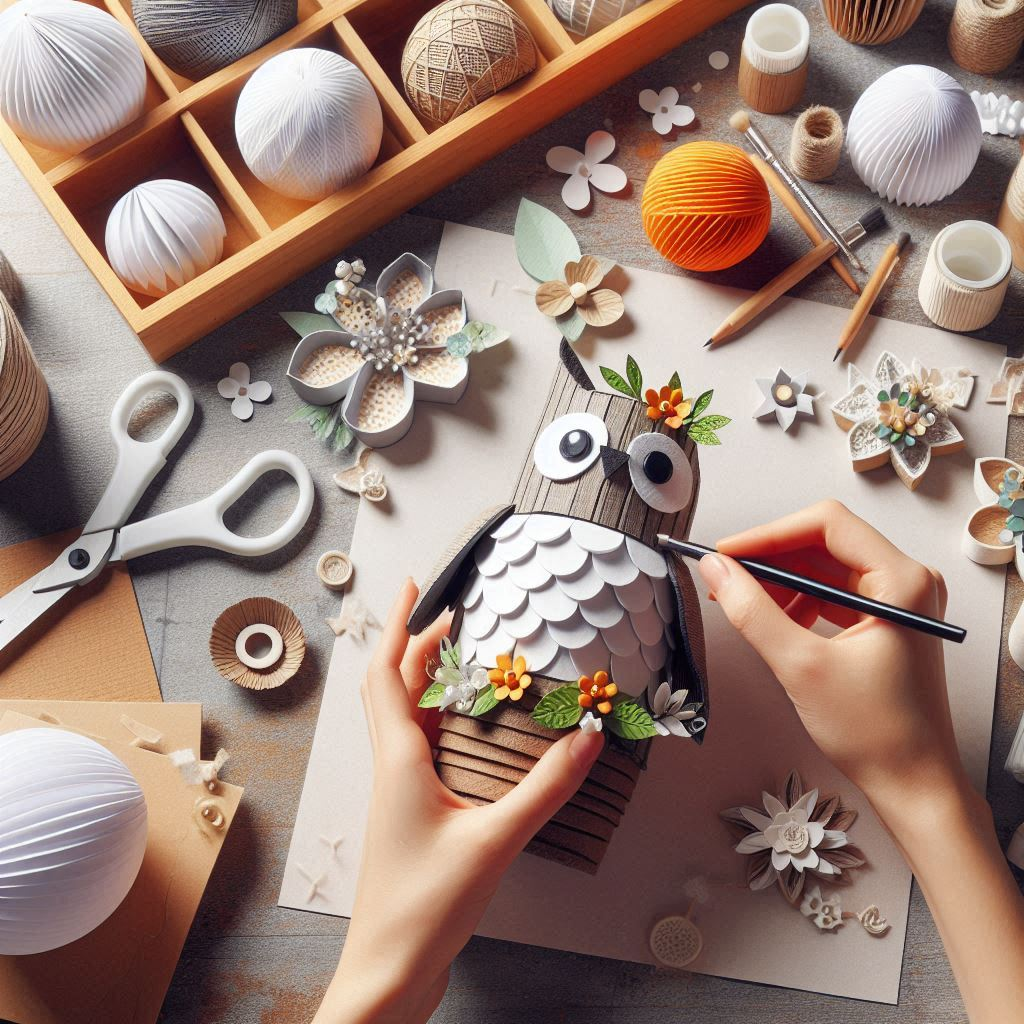
Paper Mâché
Paper mâché is perfect for creating sculptures and three-dimensional projects.
- Materials Needed: Newspaper, flour, water, balloon, paint.
- Step 1: Create a paste by mixing flour and water.
- Step 2: Tear newspaper into strips and dip them into the paste.
- Step 3: Cover the balloon with the newspaper strips, layering them.
- Step 4: Let the paper mâché dry completely.
- Step 5: Pop the balloon and paint the paper mâché sculpture.

Tips for Mastering Paper Craft
- Practice Patience: Take your time to perfect each step.
- Follow Instructions Carefully: Pay attention to details in tutorials.
- Experiment with Different Papers: Try using various types of paper for different effects.
- Keep Your Workspace Clean: A tidy workspace enhances focus and efficiency.
- Join Paper Craft Communities: Share your work and get inspired by others.
Conclusion
Paper craft is a versatile and rewarding hobby that can bring immense joy and satisfaction. By following these step-by-step tutorials of paper craft, you can create stunning artworks that impress and delight. Remember, the key to mastering paper craft lies in practice, patience, and creativity. Dive into these projects and explore the endless possibilities of paper crafting.
FAQ: Step-by-Step Tutorials of Paper Craft
What is paper craft?
Paper craft involves creating art and decorative items using paper as the primary material. Techniques can include folding, cutting, gluing, and shaping paper into various designs and structures.
What materials do I need to start paper crafting?
Basic materials for paper craft include different types of paper (such as construction paper, origami paper, and cardstock), scissors, glue, a ruler, pencil and eraser, craft knife, cutting mat, and decorative elements like stickers and glitter.
Are these paper craft tutorials suitable for beginners?
Yes, the step-by-step tutorials provided are suitable for both beginners and experienced crafters. Each project is explained in detail to ensure clarity and ease of understanding.
What is the best type of paper to use for paper crafting?
The best type of paper depends on the project. For example, origami projects require thin but strong paper, while cardstock is ideal for making sturdy cards and sculptures. Experimenting with different papers can help you achieve various effects.
How can I improve my paper crafting skills?
Improving your paper crafting skills involves practice, patience, and attention to detail. Following tutorials carefully, experimenting with different techniques, and joining paper craft communities can also help you enhance your skills.
What is the difference between a valley fold and a mountain fold in origami?
A valley fold creates a V-shaped crease, where the paper folds down towards you, while a mountain fold creates an inverted V-shaped crease, where the paper folds away from you.
How do I ensure clean and precise cuts in my paper craft projects?
To achieve clean and precise cuts, use a sharp pair of scissors or a craft knife along with a cutting mat. For straight lines, use a ruler as a guide, and for intricate cuts, take your time and follow the lines carefully.
What is paper quilling?
Paper quilling involves rolling and shaping thin strips of paper into various designs. These designs are then glued together to create intricate and decorative patterns.
Can I use recycled paper for paper crafting?
Yes, using recycled paper is a great way to be eco-friendly and add unique textures and patterns to your projects. Just ensure the paper is clean and suitable for the type of craft you are making.
How can I make my paper crafts more durable?
To make paper crafts more durable, use strong adhesive, ensure all pieces are securely glued, and consider adding a protective coating like a clear varnish or laminate. Using thicker paper or cardstock can also increase durability.
Where can I find more paper craft ideas and inspiration?
You can find more paper craft ideas and inspiration from books, online tutorials, craft communities, and websites dedicated to paper crafting. Engaging with fellow crafters can also provide new ideas and techniques to try.
